Check Ins Lobby 6
This is the main Check In user interface for Lobby6. Here you will create tickets as well as mark members assisted and finalize them. Below you will find explainations of each feature.
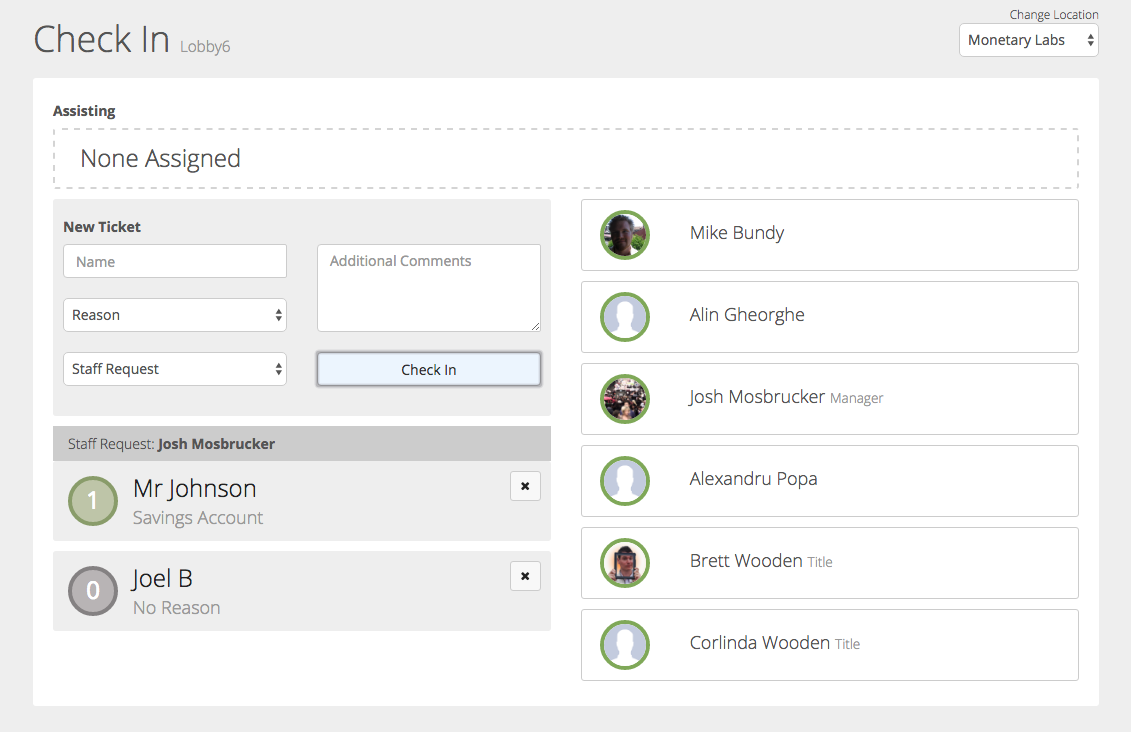
Creating a Ticket
The Check In system is designed to be quick and efficient. Inputing information into the system should only take a few seconds.
Start by entering the members name, and the reason they visited you today.
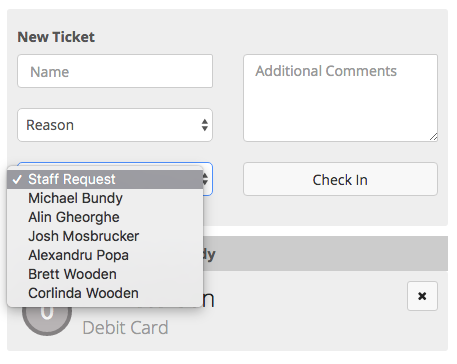
If needed you can select a staff member as a special request. Once the
button has been clicked it will instantly be added to the ticket queue below the Check In window.
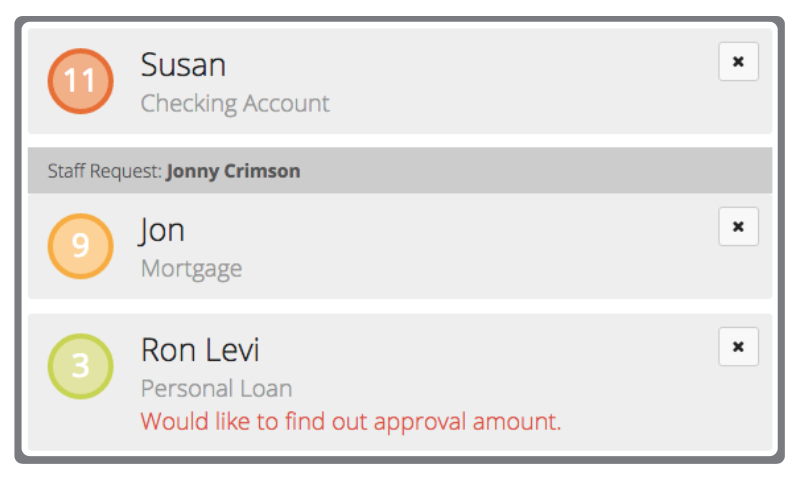
Open Tickets
The ticket queue is sorted by how long the member has waited. It is indicated by a number representing minutes accompanied by a color starting with green and shifting to red based on the severity of wait time.
Assisting a Member
After selecting the desired ticket from the queue, it will show up in the assisting pane as a blue stripe at the top.

UNDO : If the ticket was taken by mistake and needs to be put back into the queue. This effect will only last for 1 minute before it converts the ticket to assisting.
ABANDON : If the ticket has chosen to leave before assistance was available.
TRANSFER : If the ticket needs to be handed off to another staff member or specialist.
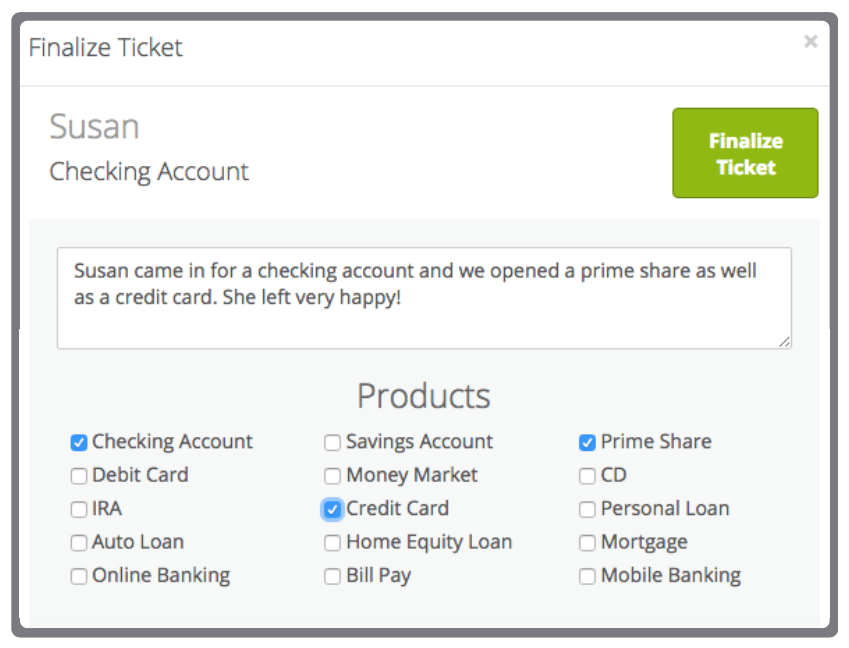
Finalizing a Ticket
Click the Finalize button to complete the transaction with the member by filling out the short form. Multiple products and services can be selected for reporting.
 You can re-access ticket information in the Lobby6 > Reports table view.
Available Staff List
At a quick glance you can tell who is in the branch, who is busy with a member currently or who is unavailable by looking at the border around their profile icon.
GREEN : Available to help
BLUE : Currently assisting
GREY : Logged out of the system
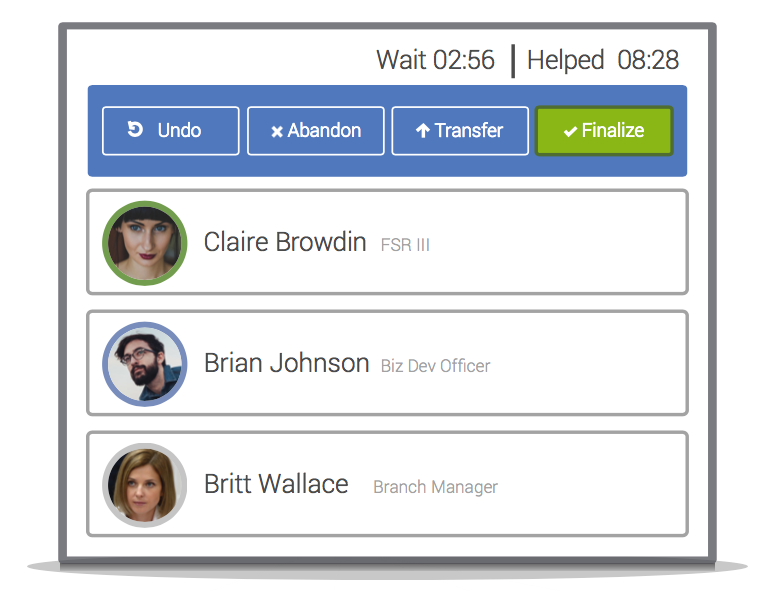
 You can access quick links to a staff member just by clicking there icon.
Viewing Profiles
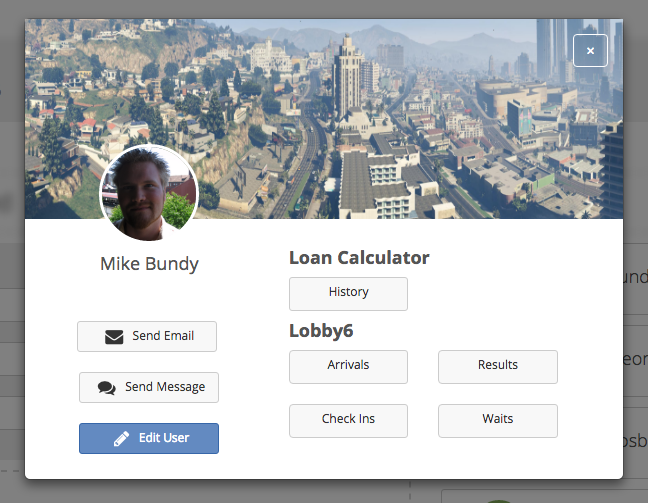
At any time in the Check In user interface you can view a staff members reports. Simply click on their user in the Staff
list on the right side of the screen to view the popup modal.
You can also easily contact them via email and our internal messanger from this menu.
Change Location
On all screens you have the capability of changing your location, you will find the option to do so in the upper right hand side of sites upper Navigation bar.
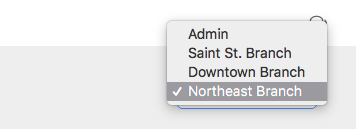
 If you do not see the option to change your location in the upper part of the navigation, please navigate to a page where
the option appears or you can always edit your location in your Profile.